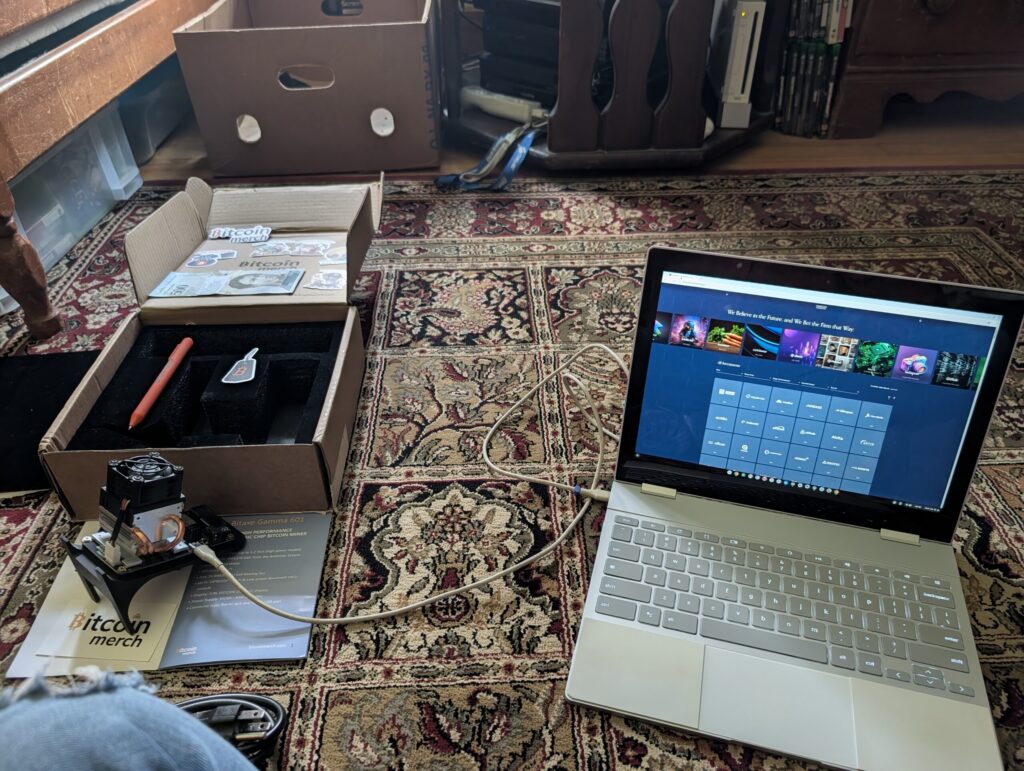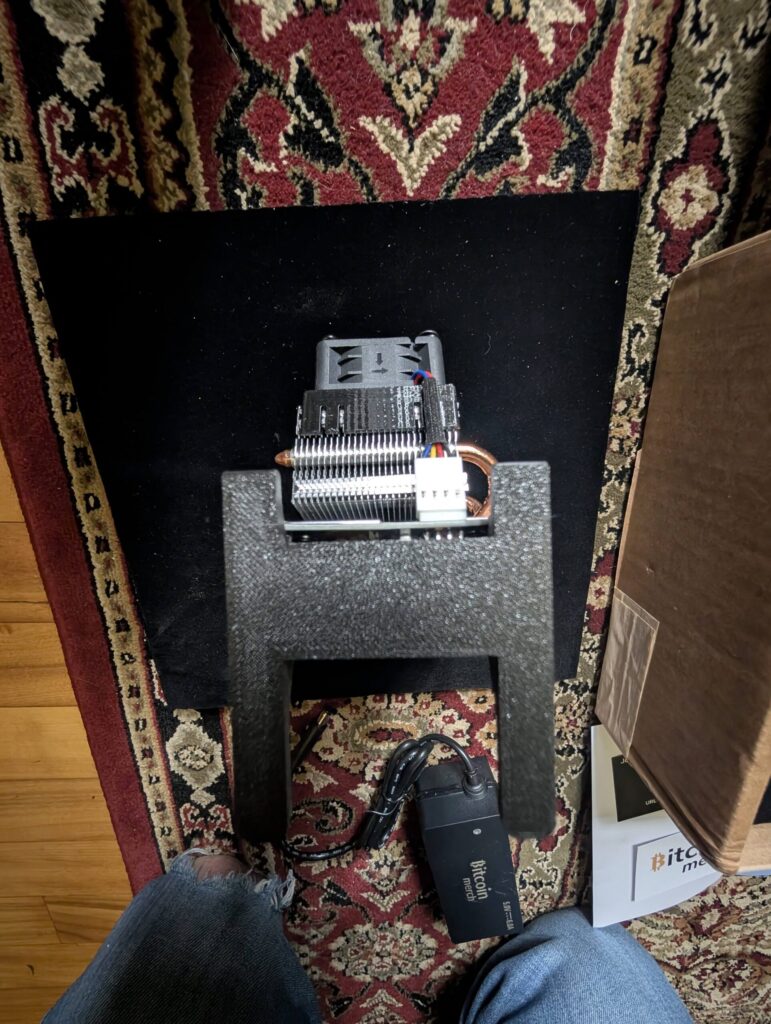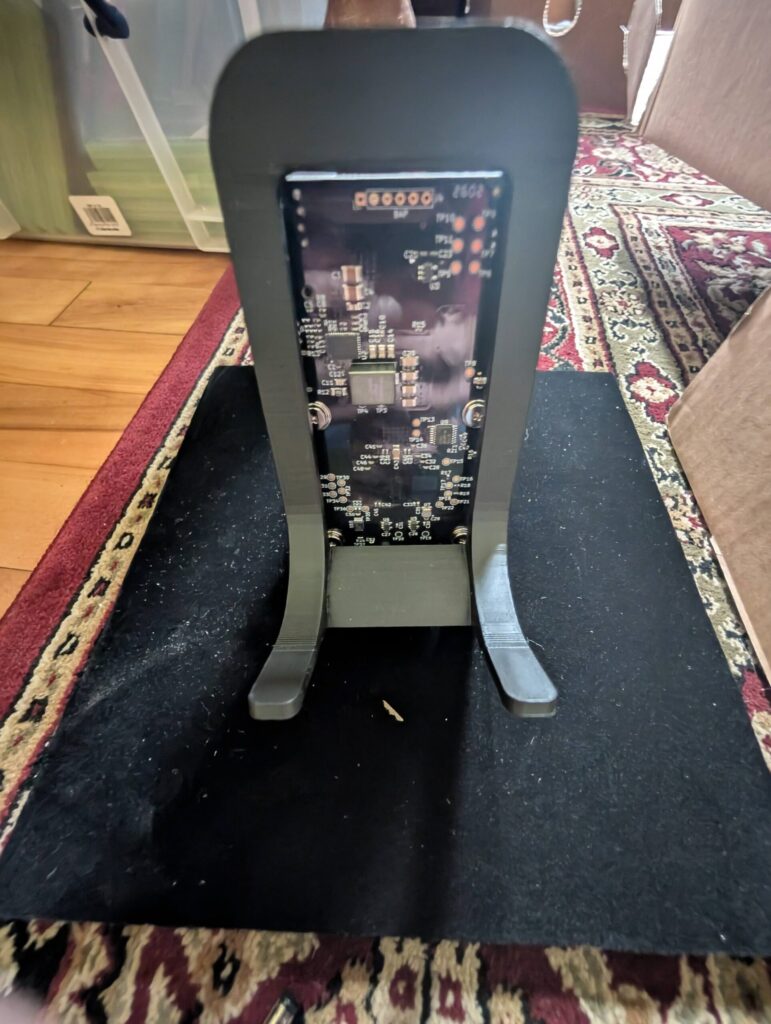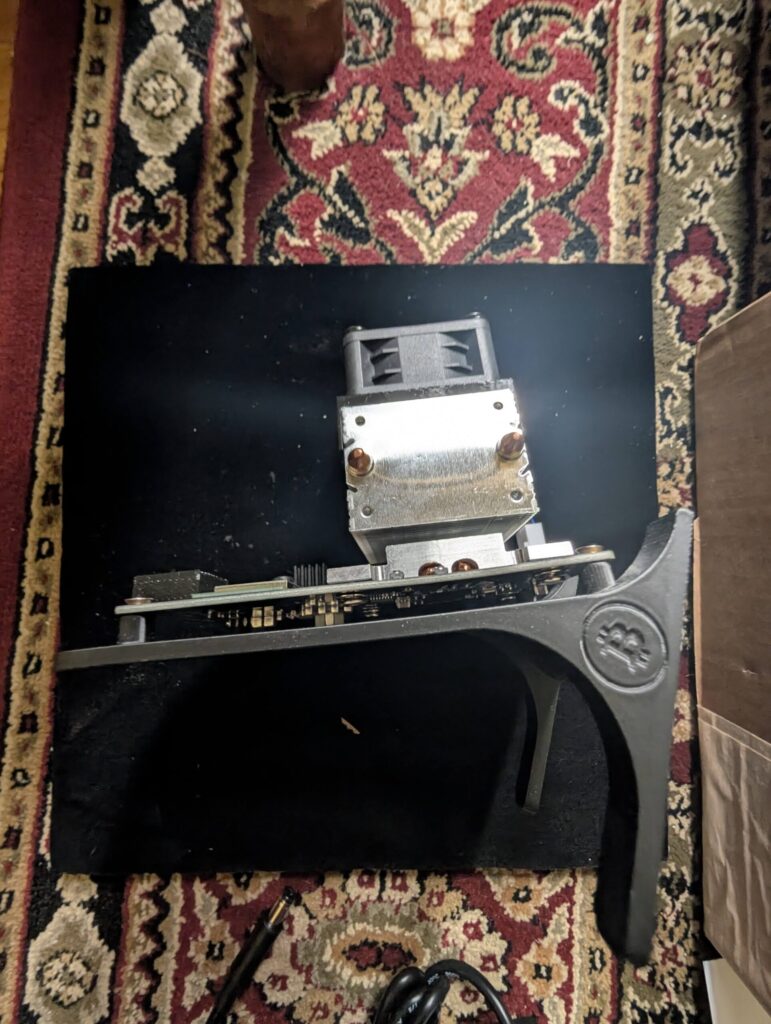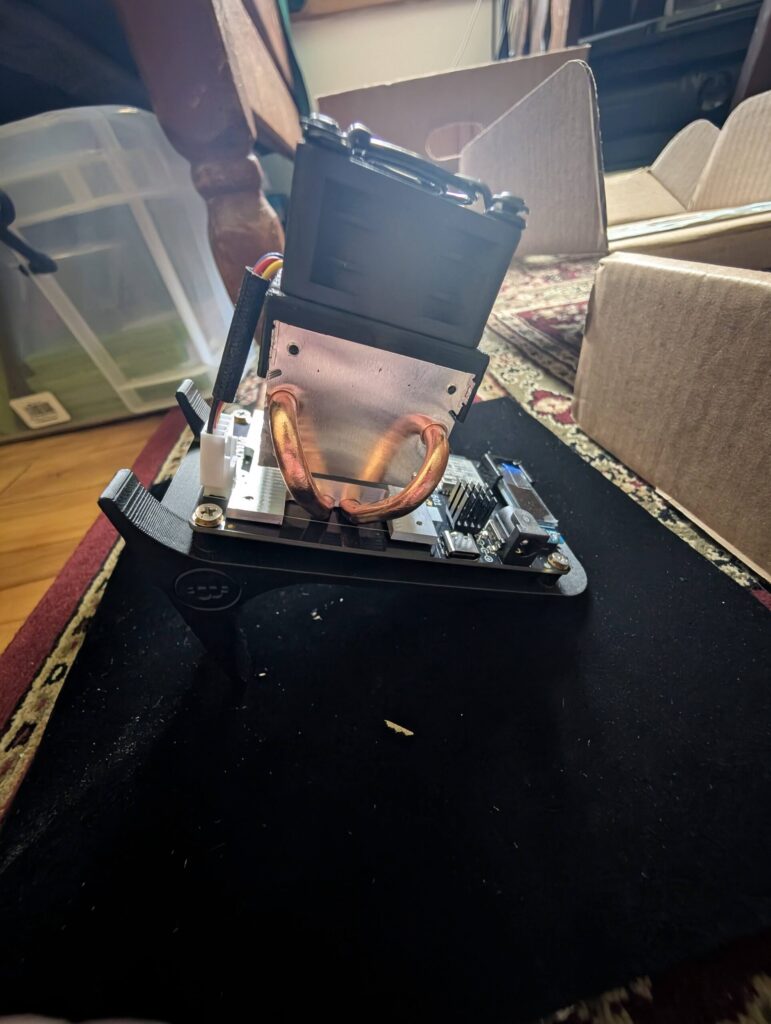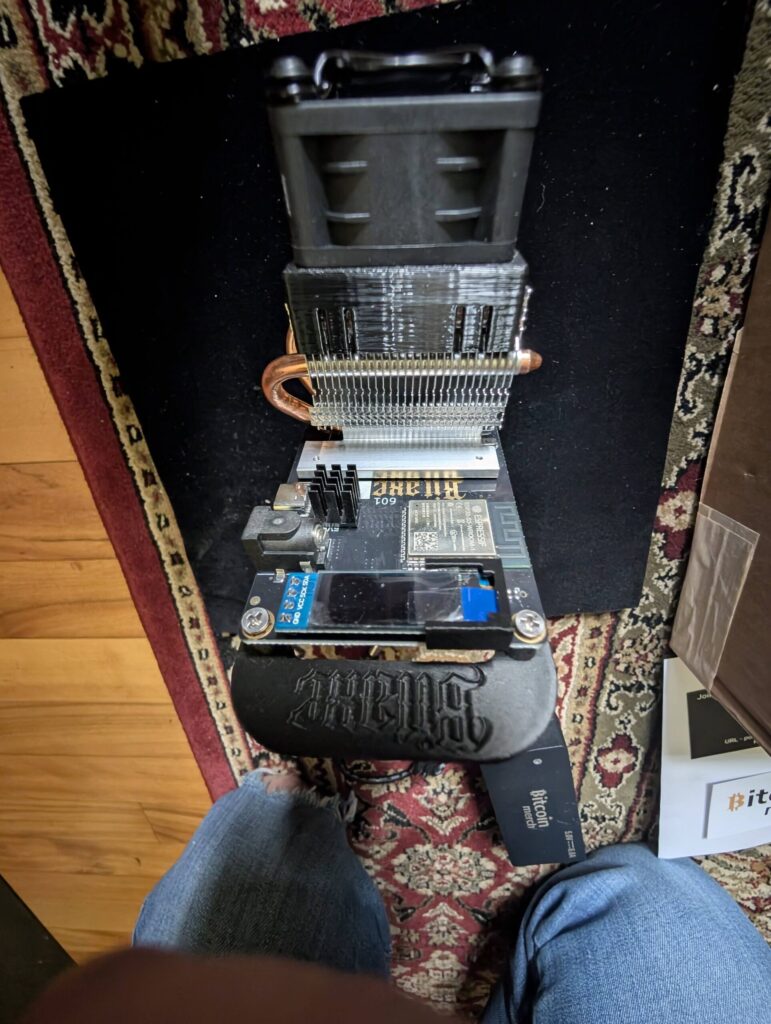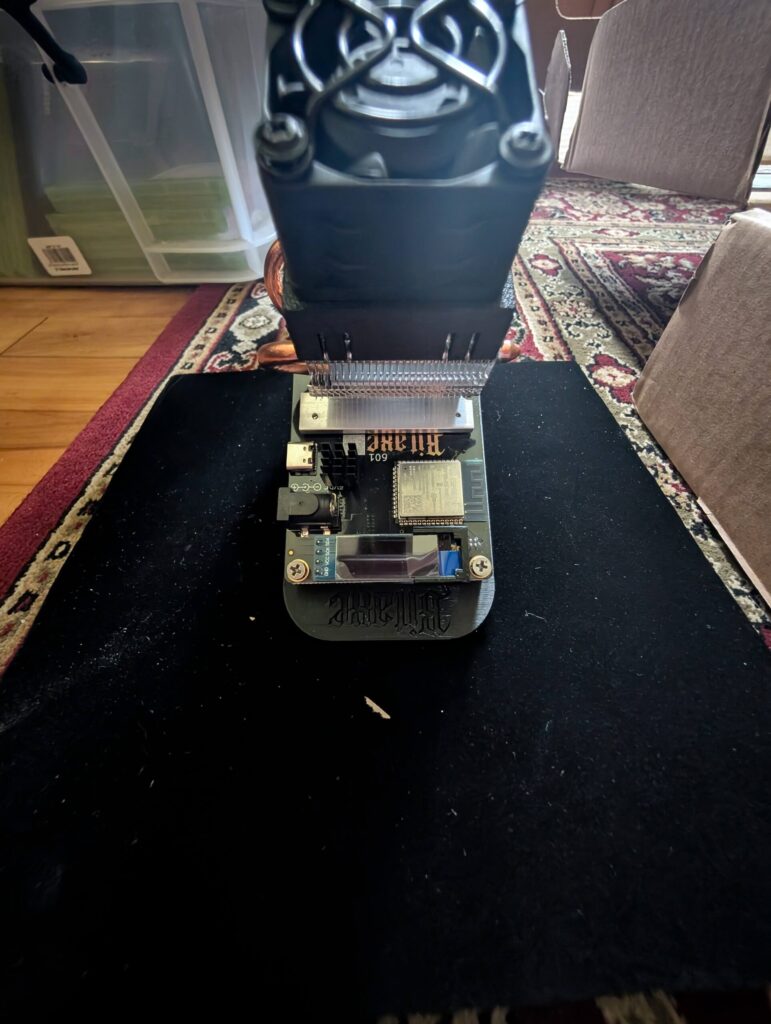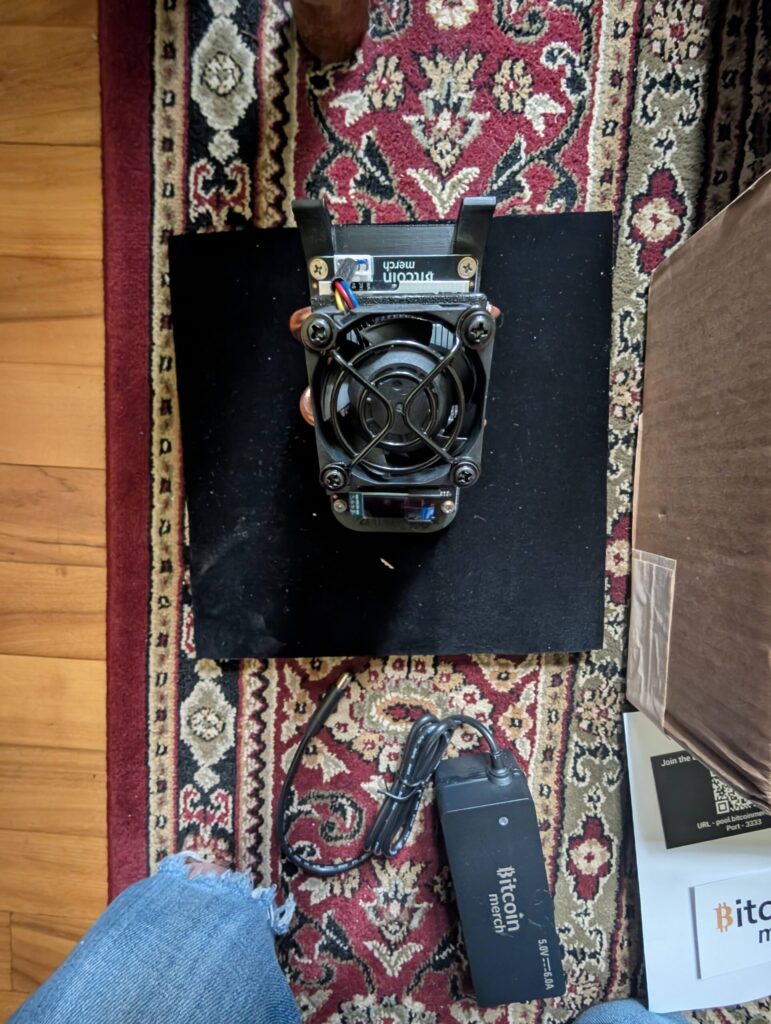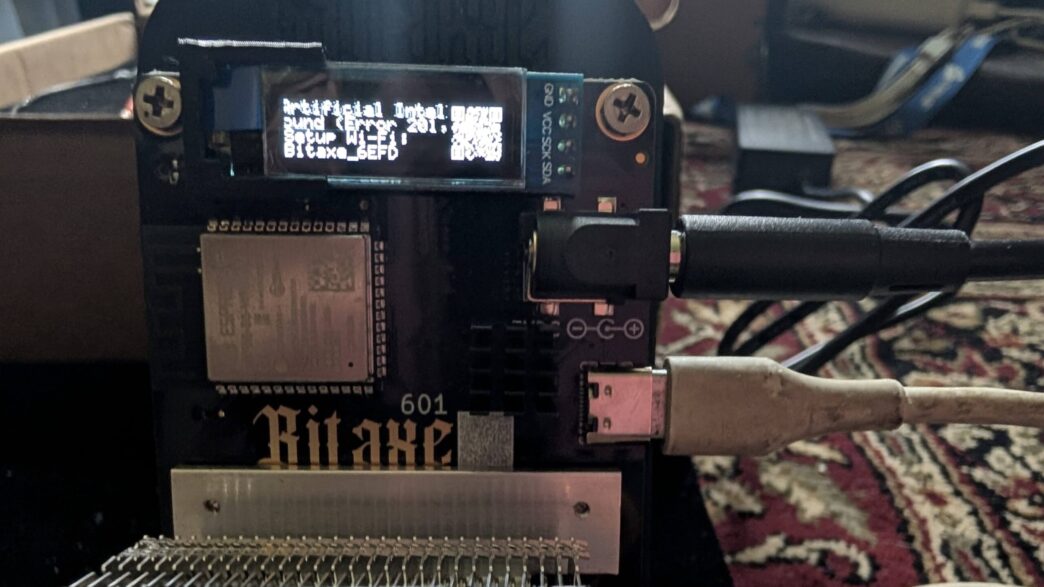
BitcoinMerch was kind enough to send us their micro Bitcoin Miners, the Bitaxe Gamme 601. One was for me to test, the other was to give away to one lucky reader through our contest on Twitter.
If you have not already, be sure to check out our post on Twitter, follow Bitcoin Merch and Lightning News, retweet, and leave a comment in order to be considered to win the Bitaxe Gamma 601.
BitcoinMerch was also kind enough to provide our readers with an additional 5% discount for any miner with the code “LightningNews” (without quotations) used at checkout. Be sure to click our affiliate link within this article in order to use your discount. 
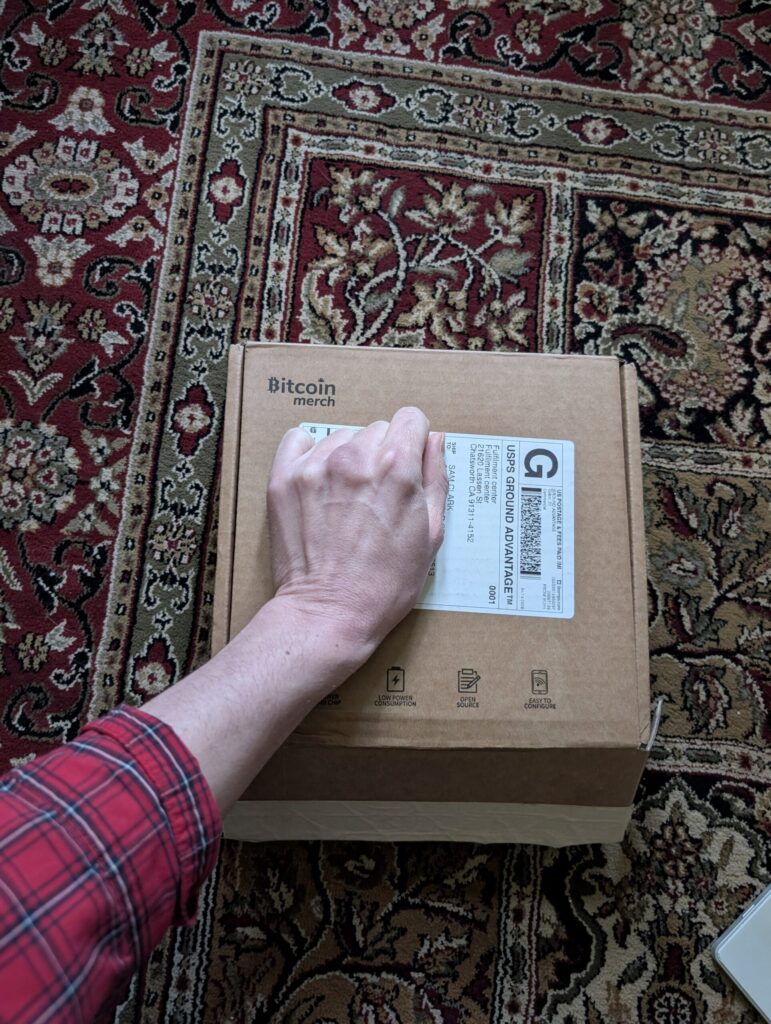
The first step of the process was ordering, this was quick and easy. All I needed to do was provide a name and address, to save on shipping ground which still arrived in less than a week.
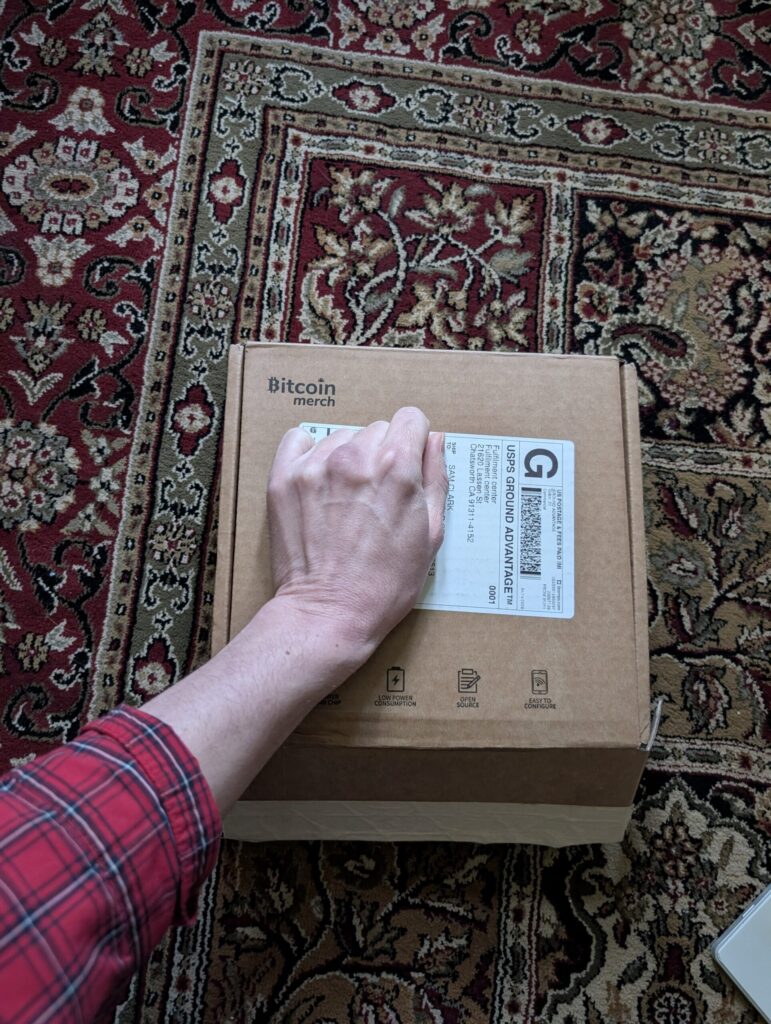
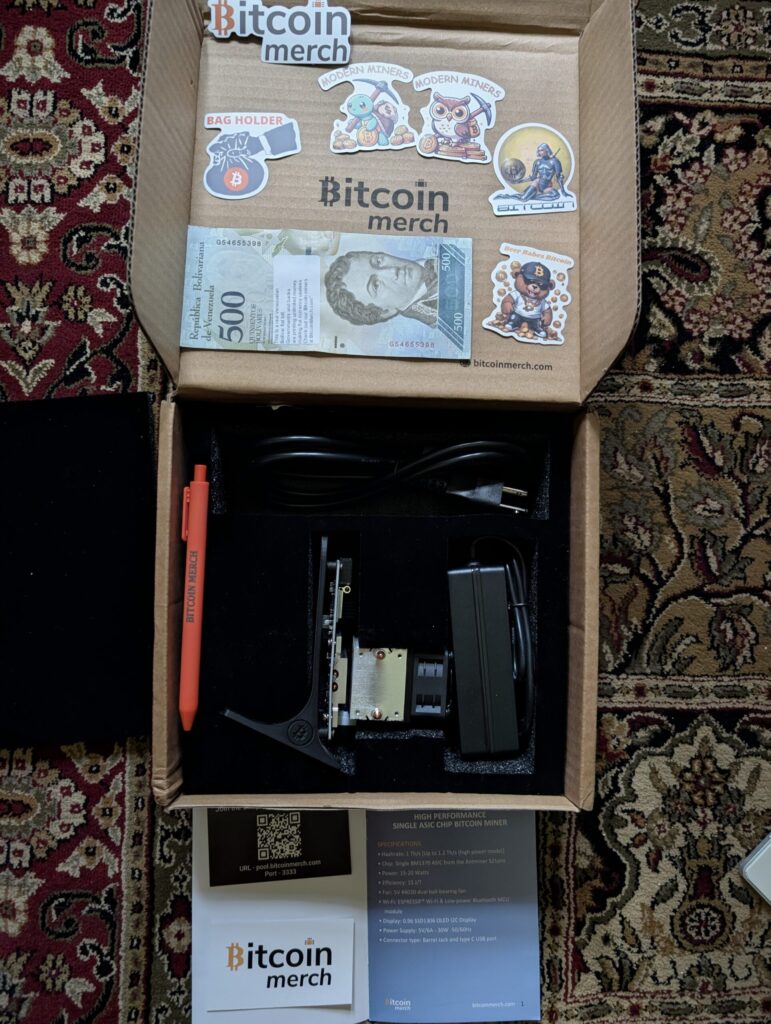
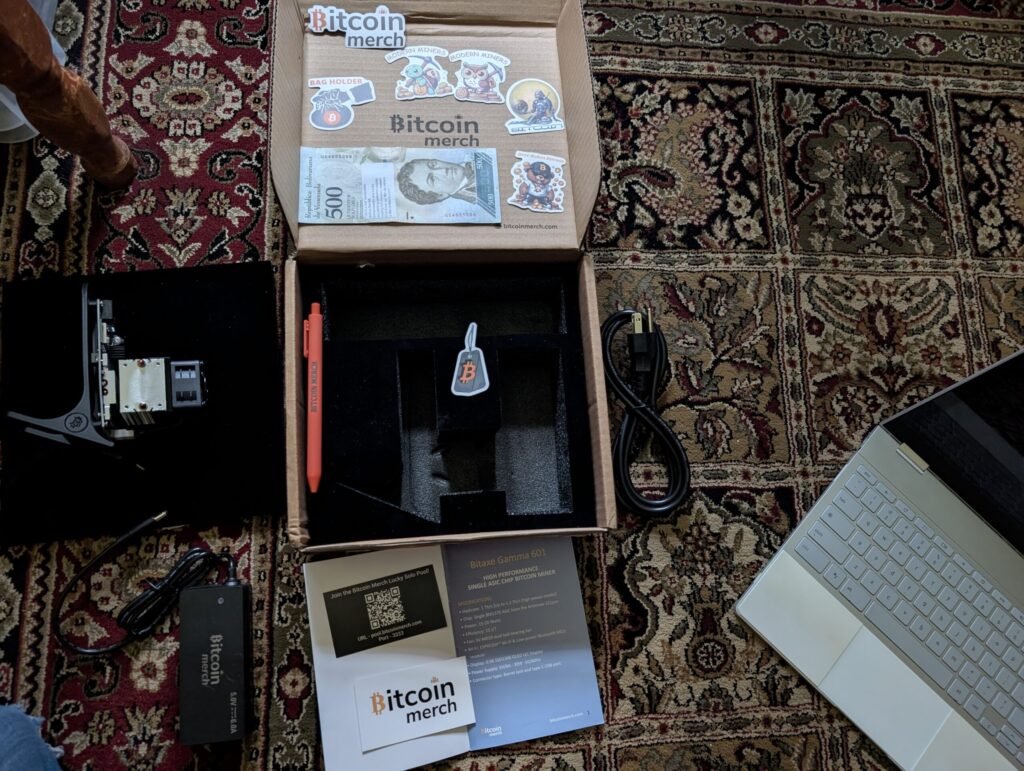
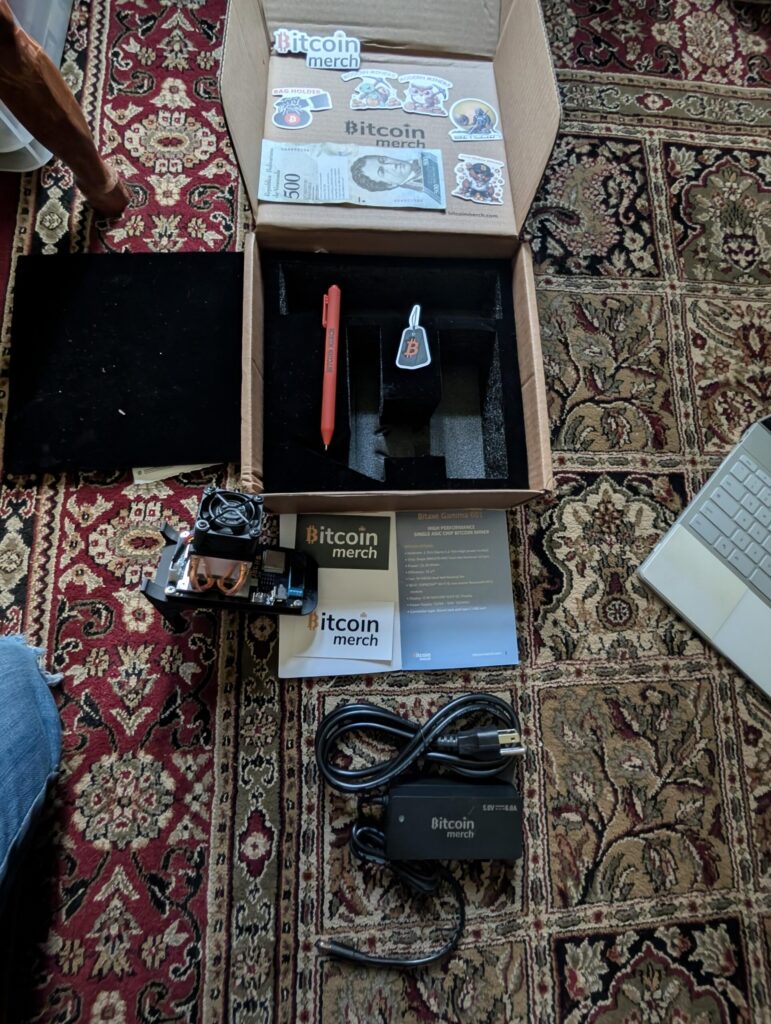
The packaging was great, everything had its own slot within the small, compact cardboard box which perfectly insulated the miner, and all the extras.
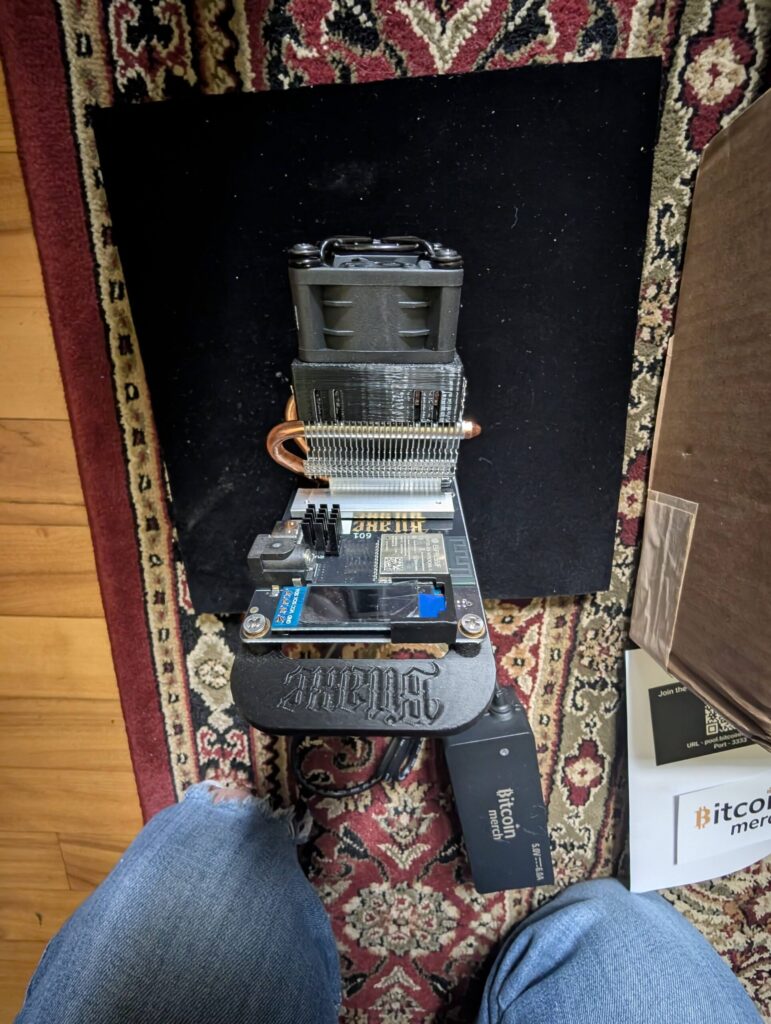
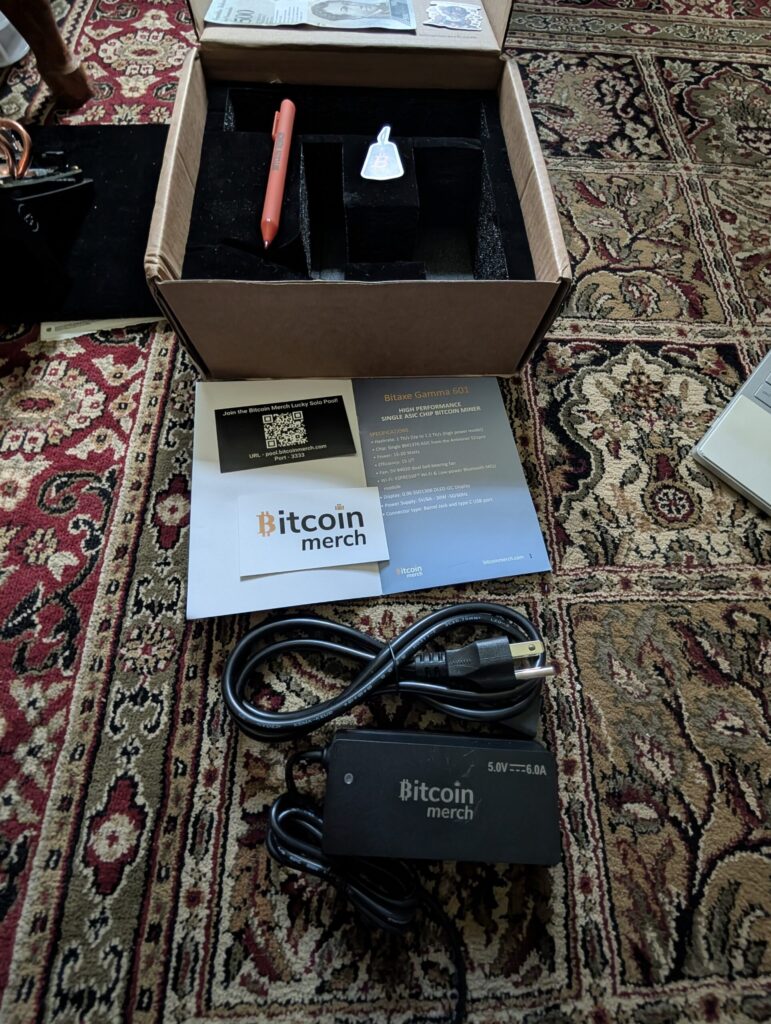
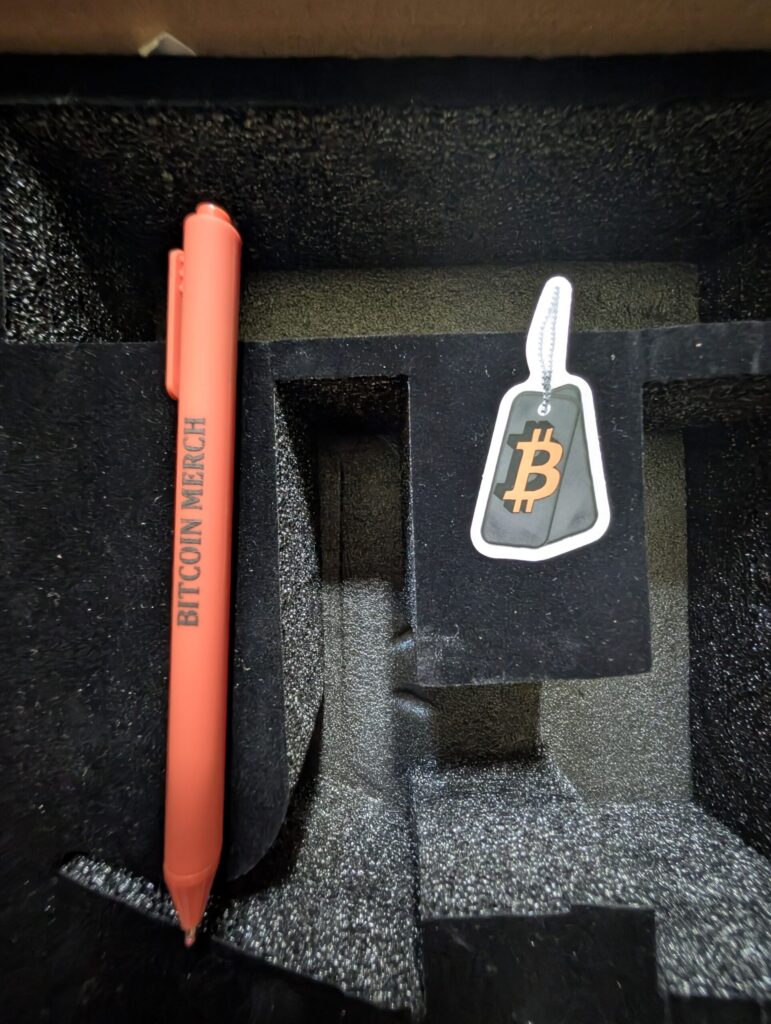
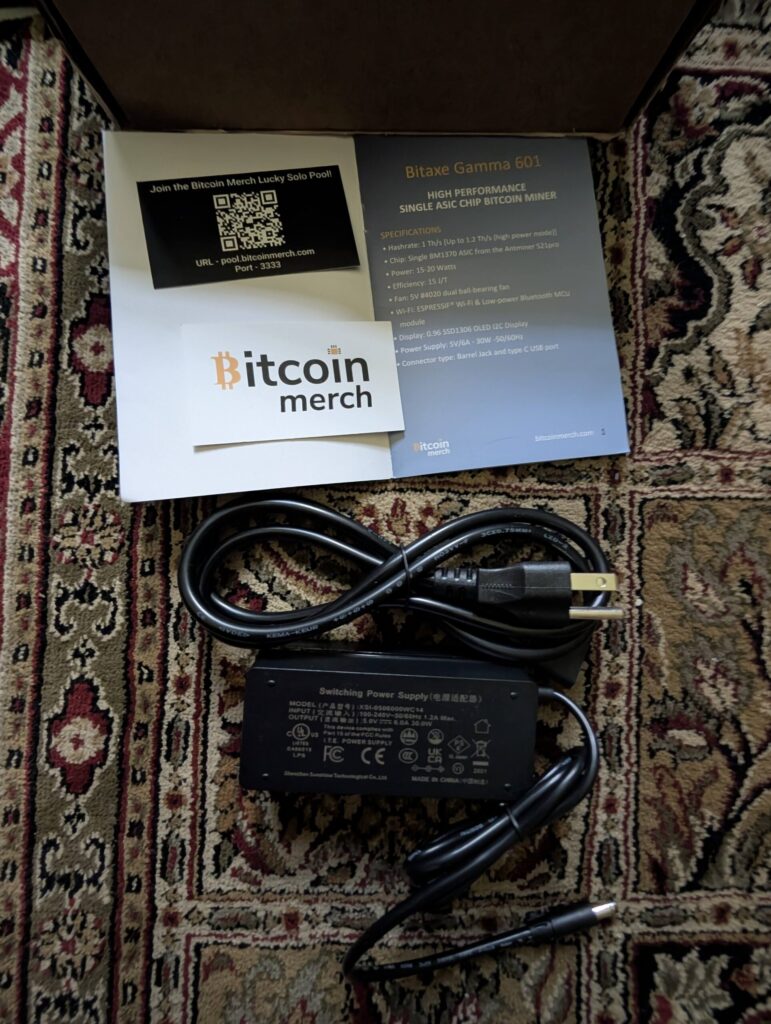
Within the packaging, I found a handful of Bitcoin stickers, a Bitcoin Merch branded power supply, a Bitcoin Merch pen, and the holy grail, the Bitaxe Gamma 601 Lottery Miner. The lottery miner, priced at $135 at time of ordering, has come down in price slightly to $125 before the “whale member” price discount, a sort of clubhouse for those that intend to buy expensive gear, or multiple products offering significant savings.
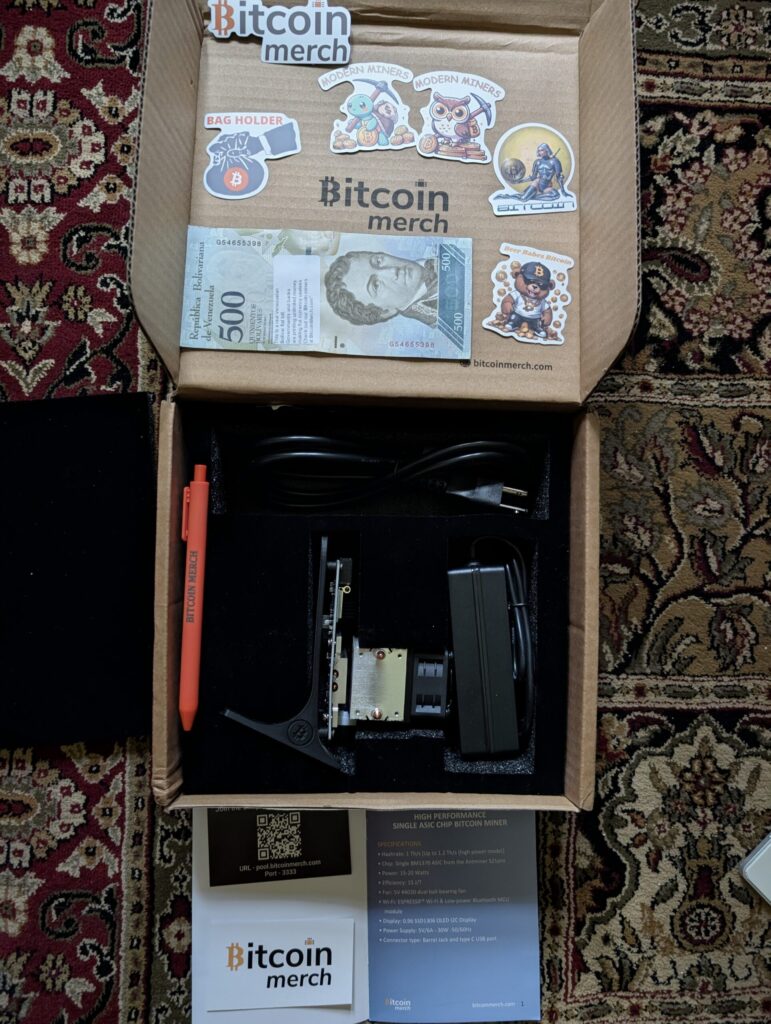
I feel confident saying the packaging provided is capable of withstanding the impacts of shipping. For anyone who’s ever worked at USPS or UPS, and even those who have not, you can imagine how many times packages get jumbled around from truck to truck as they move up and down conveyor belts. The box was nicely padded, and the Bitaxe Gamma 601 was at the center of my box, ensuring the most prized possession had the most amount of cushioning. There was also foam padding on the top, and bottom of the box, providing an extra layer of padding.
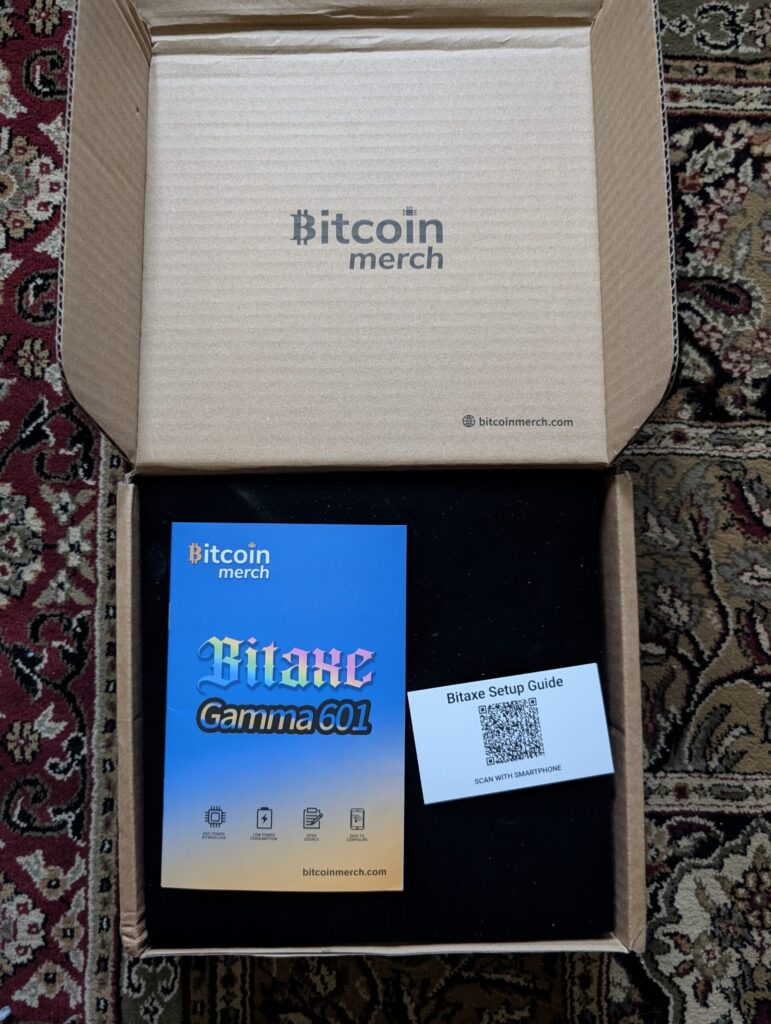
The box featured directions in 2 forms, one was a small business card with a QR code, the 2nd was a multipage booklet. I shelved both of these for later and decided I would try setting up myself. My first attempt was fruitless.
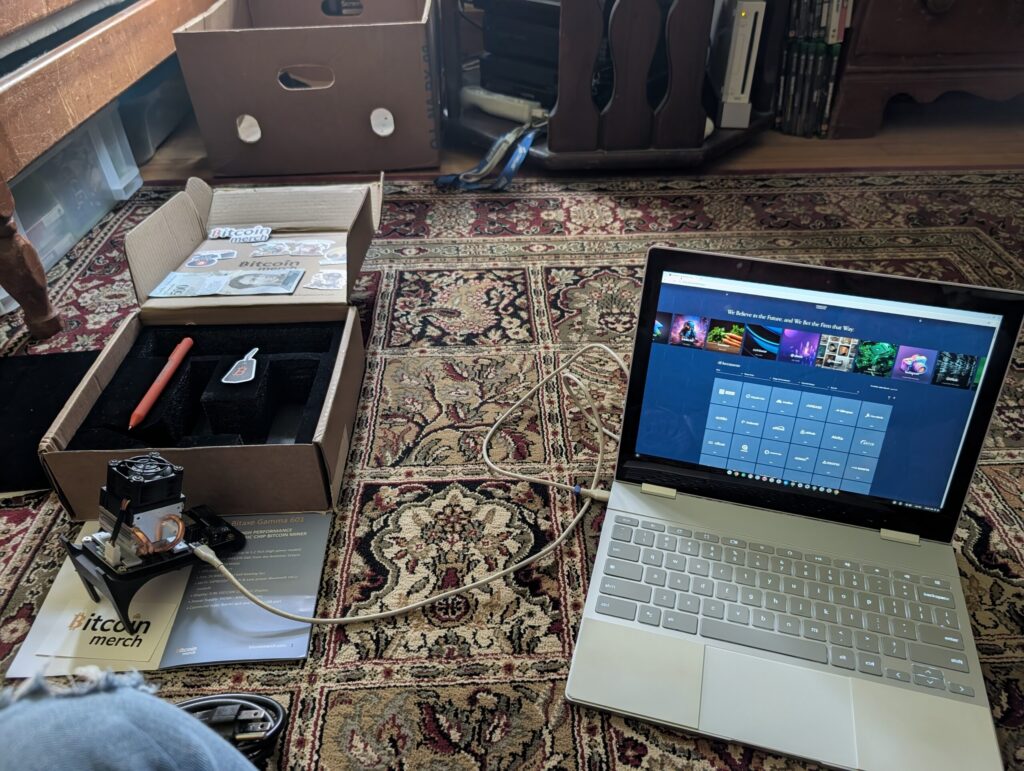
I plugged the miner directly into my linux powered chromebook, expecting to hack the mainframe so to speak. Turns out, power is not provided via USB and no matter how much my laptop could supply, the miner would not turn on with just USB-C plugged in.
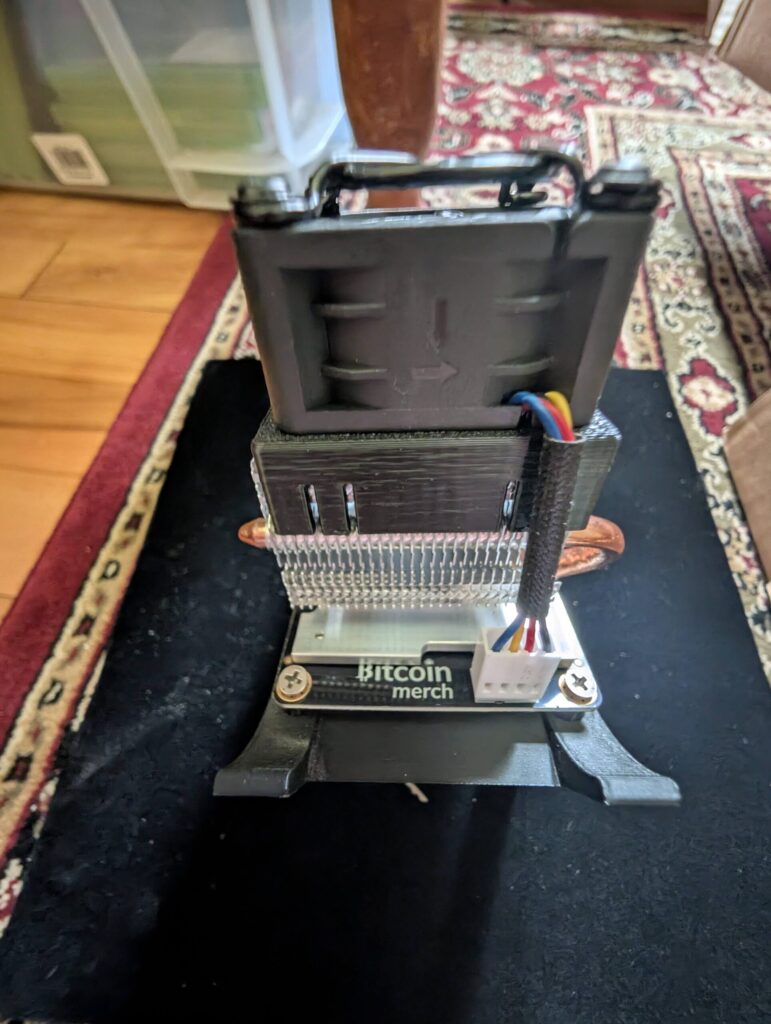
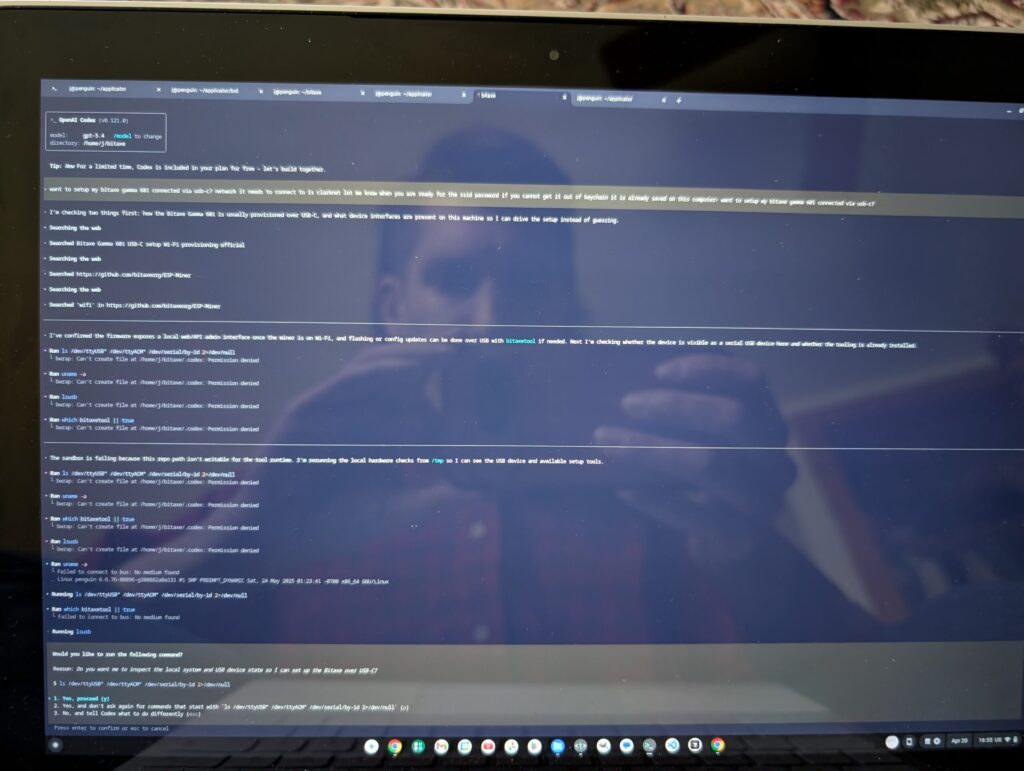
Defeated, I begrudgingly plugged in the 30w DC power supply. My next attempt was just as fruitless, I spun up OpenAI’s Codex tool after creating a directory specifically for the Bitaxe Gamma, and tried to get GPT 5.4 to set up my miner. Turns out, ChatGPT is not exactly that well trained in miners, so it did not know that a custom Bitaxe software needed to be downloaded in order to flash the latest firmware, it simply tried connecting directly to the device, which also failed.
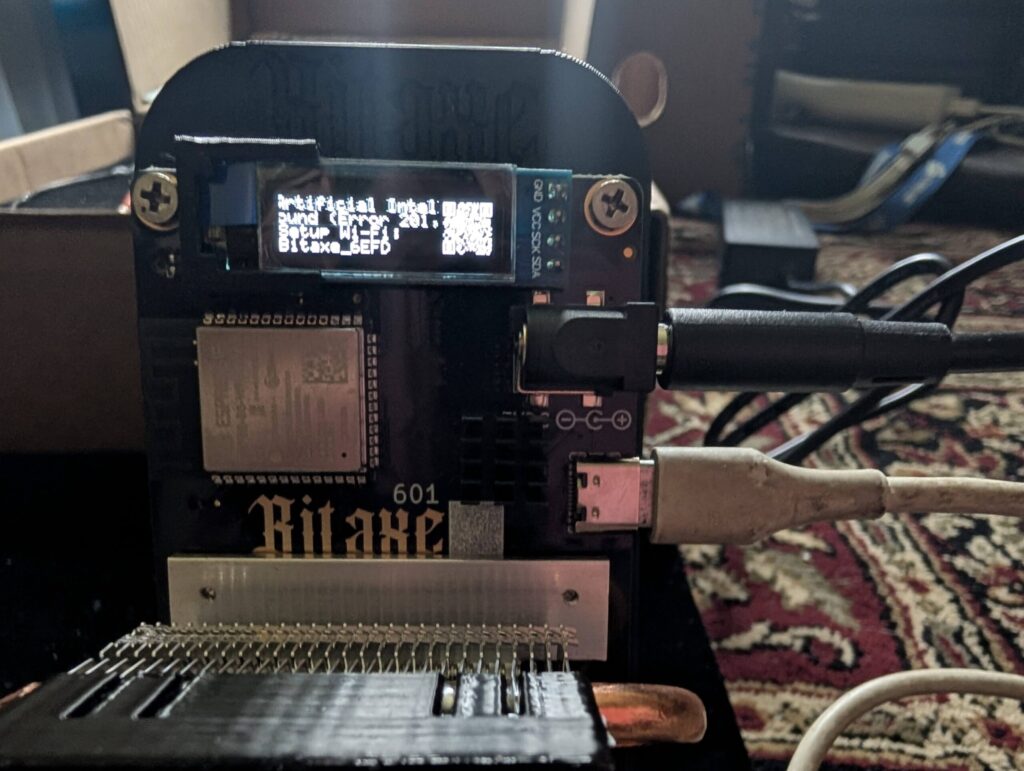
At this point, I finally decided to read page one of the directions, which were simple. Connect to the onboard wifi network and configure the SSID + password of my home network. One thing that did not seem super secure is that the network for the Bitaxe was open, meaning required no password. If you were in a high density zone, specifically one with threat actors, there is a slight chance someone could connect before you, and configure the password to their own wifi. I imagine there is a reset button or method to regain access should you need to. Luckily for me, my neighbors only care about their own wifi and not some random open network. I suppose the IP address being required in order to access the setup is a secondary deterrent, though this could be tracked down by anyone with some computer knowhow that was actively trying to steal your miner.
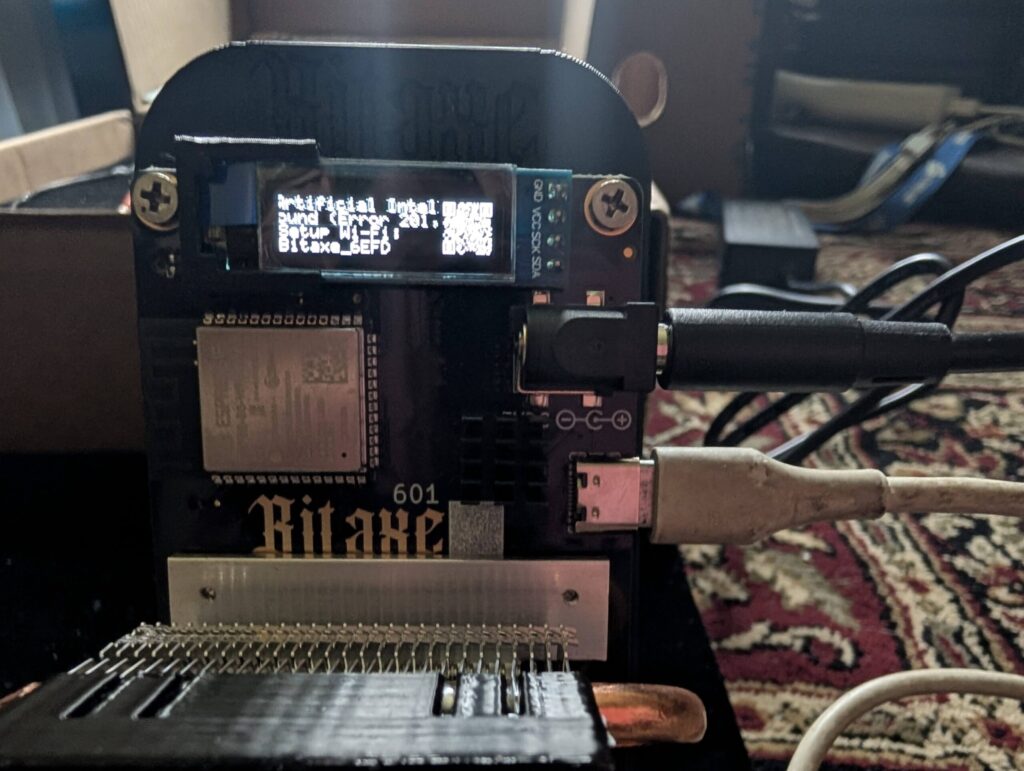
If there was one suggestion I have for Bitaxe, it is to secure the default wifi network in order to ensure nobody steals a miner, I am surprised nobody has brought this up as a potential security vulnerability so far. Maybe it’s because I just took my Cisco Cybersecurity Essentials class that my paranoia regarding open networks is so high, regardless, I would think some sort of default randomized password would have been implemented on each device. Maybe Bitcoin Merch can start setting that up when they configure these devices.
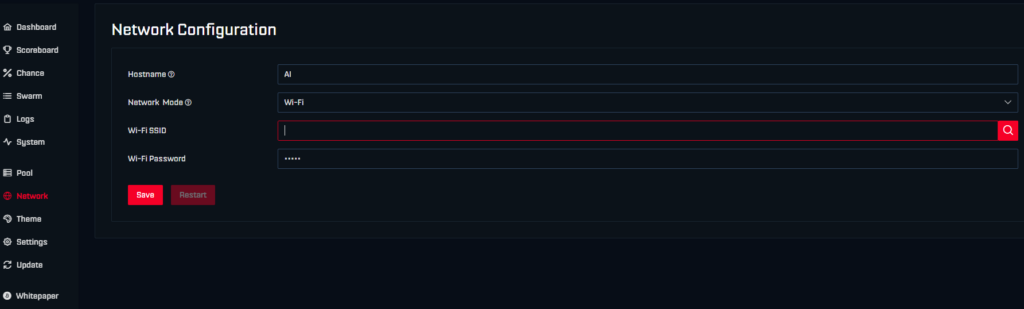
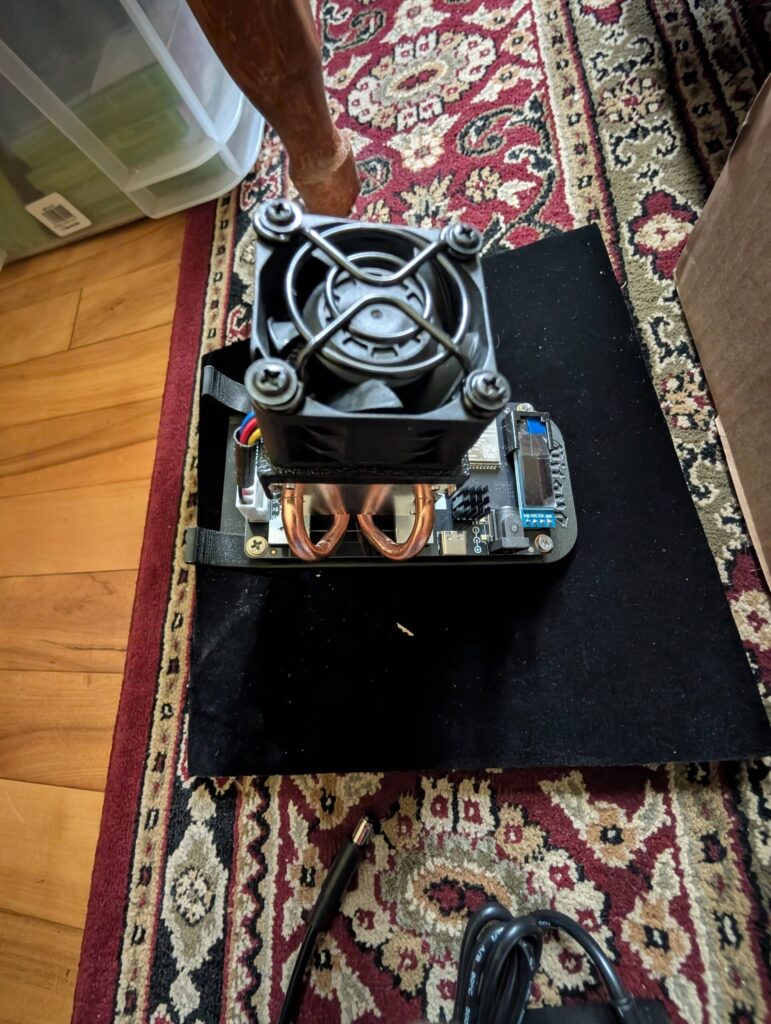
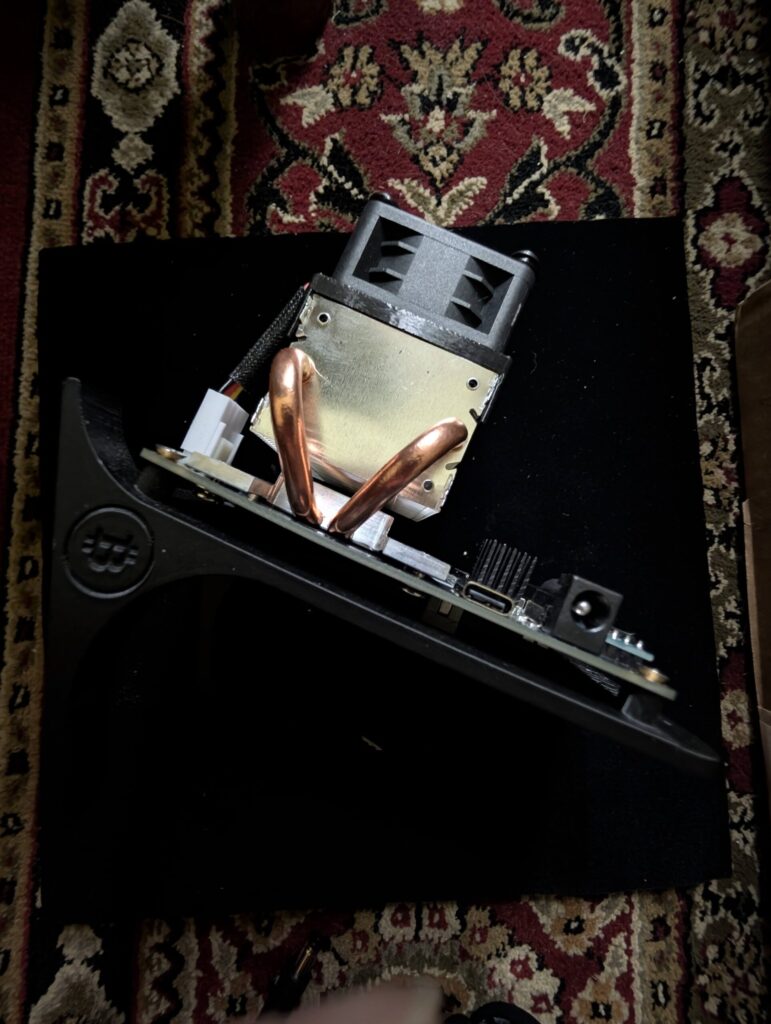
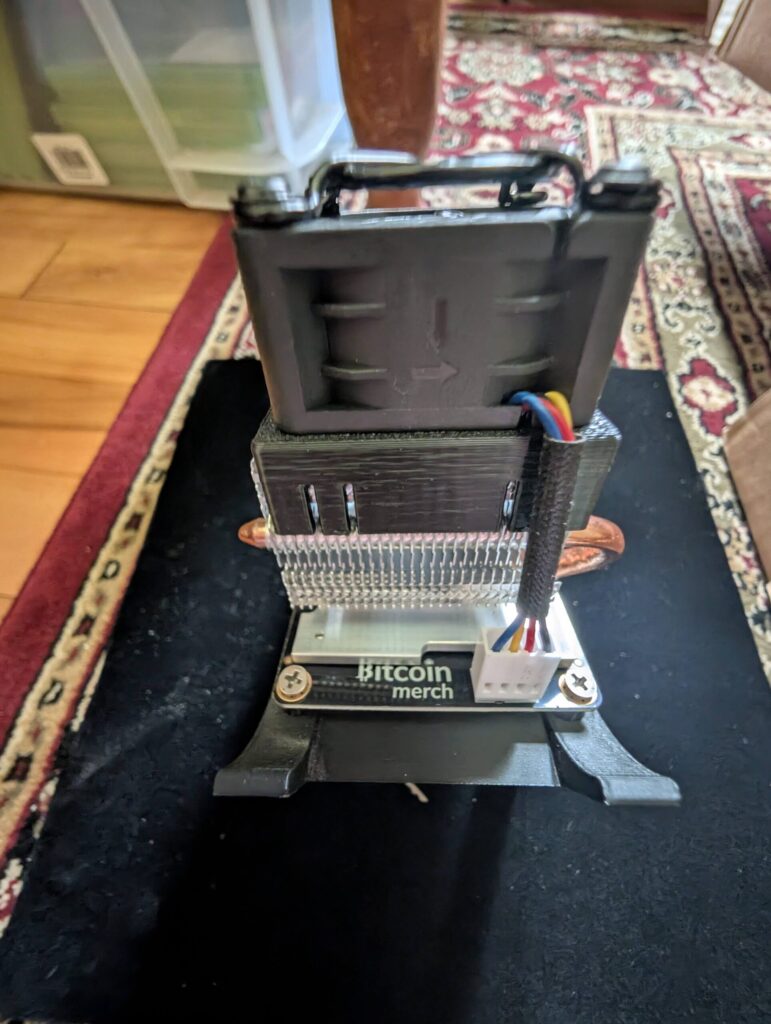
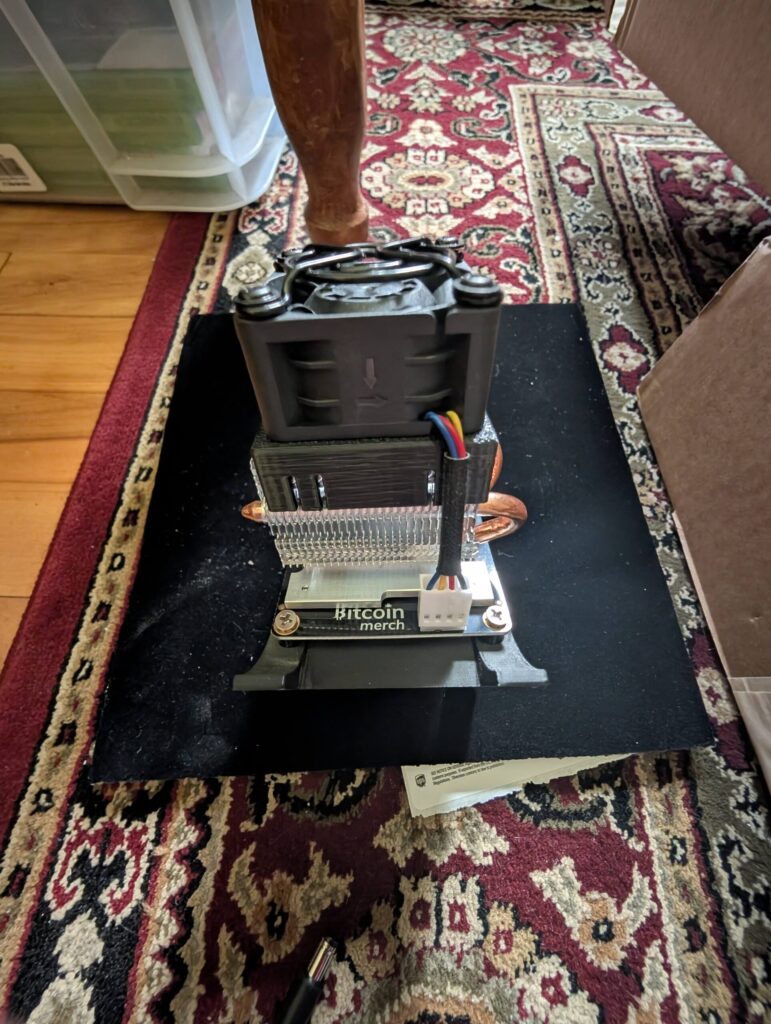
Setup was a breeze, like way too easy. The guys at Bitcoin Merch do a nice job configuring the defaults. Many reports state the Bitaxe Gamma 601 runs 1.0-1.2T/h, though with a slightly increased voltage and clock speed, the Bitaxe Gamma from Bitcoin Merch reaches 1.4-1.5T/h at a stable 55 degrees celsius (131 fahrenheit). Speaking of being set up nicely, there is a custom branded “Bitcoin merch” stamp on the board, a nice little LCD screen featuring LED lights to indicate functionality, and a much larger, nicer heatsink, which likely cools the temperature while the device is overclocked.
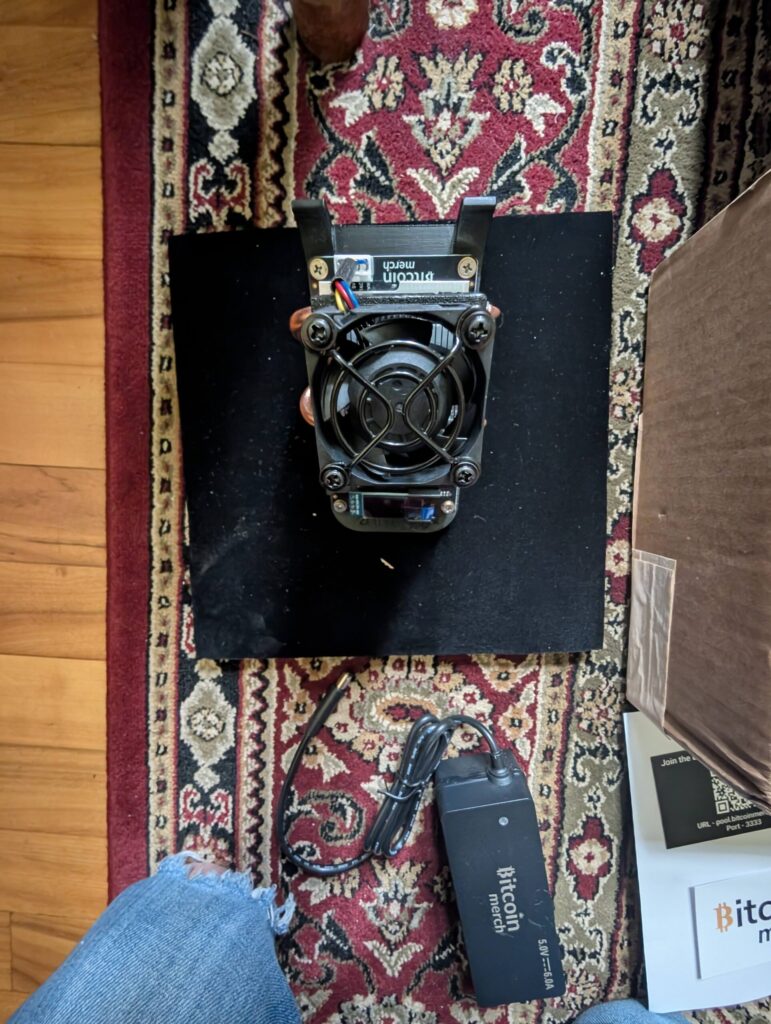
There is a little headroom for further overclocking, which I am looking into as it turns out the fan is not working at 100%, and the safe operating temperature of the ASIC chip runs into the mid 60’s with 70 degrees celsius being a danger zone where the device will automatically restart itself. I am still looking into how to get slightly more voltage to the chip in order to overclock it, reports from Plebbase state I should be able to run up to 900mhz, far above normal levels, which should net closer to 2T/h though my attempt to edit the developer console and type in 750 as a clock speed had no effect. I don’t want to break it, I just know it has some more juice and I can increase my chances of hitting a block. If there is a more up to date guide, which does not include soldering, I would appreciate someone cluing me in.
The only thing I needed to do setup wise was add my Bitcoin Wallet address. I hope someday I will magically get a notification in Robinhood some 3 odd Bitcoin is deposited into my account. Until then, I hear the gentle whir of the fan.
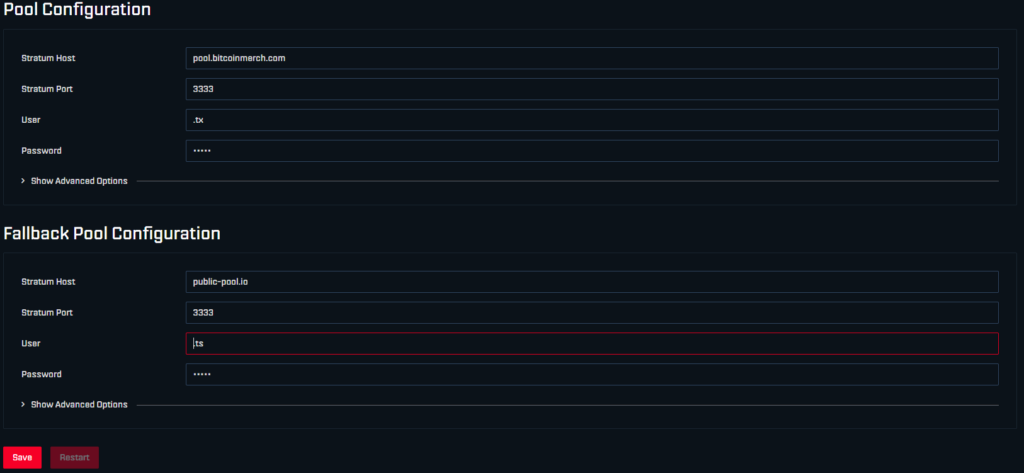
Usage of the Bitcoin Miner is very simple, you plug it in, and after setting up your wifi network you are given an IP address on the screen. The settings to change are minimal as the device already comes overclocked from Bitcoin Merch. It seems there are safe limits put in place. You can change your pool but there is no need to since the pool setup by default is for solo mining, which in my opinion has the greatest chance of profitability since there is no pool to share with big miners. I was recommended to the braiins pool but their email server never sent me a 6 digit code so I am missing out on daily sats in favor of hoping I hit an entire block.
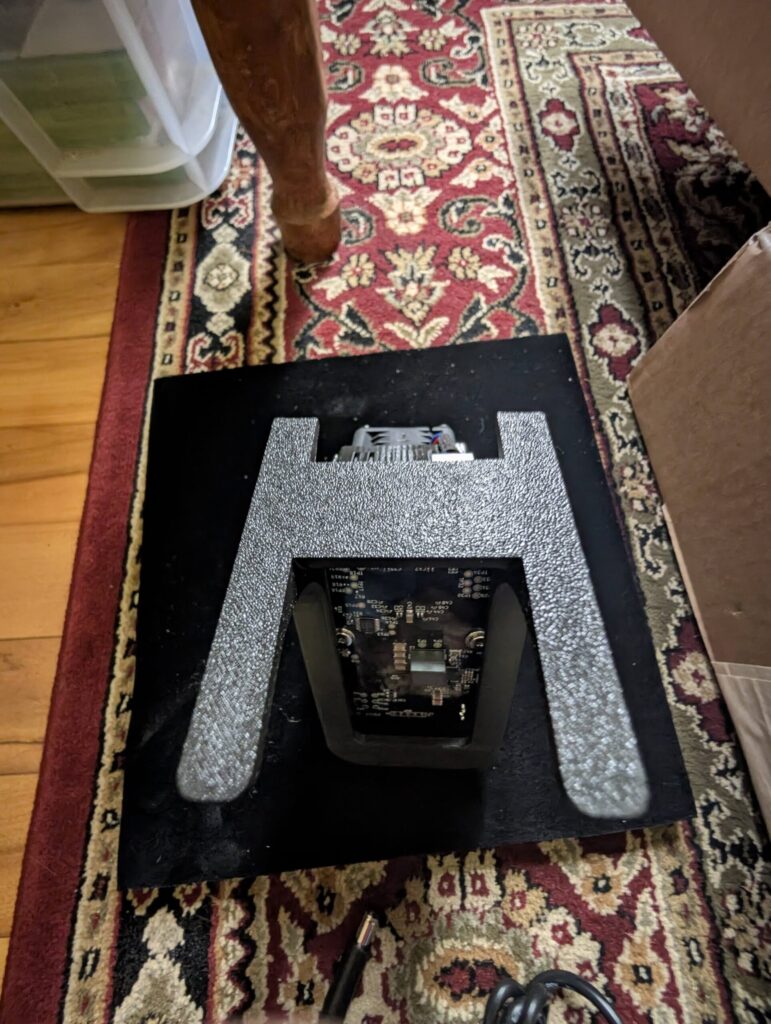
The only setting I needed to change was the Bitcoin payout address, as a default one was set. I did amp up the base fan speed a little bit, just because I could. The other settings were relating to changing the wifi network, or setting the voltage and speed to a lower position, 2 things I was not really interested in. I very much like this unit comes overclocked from the factory. Though I wish there was a little more power they let you squeeze out of it. I did read changing out thermal paste can lower the temperatures but that seemed to be related to off the shelf miners with much smaller fans and heatsinks. One big benefit of ordering from Bitcoin Merch is they do such a nice job with the setup. It comes with a nice sturdy stand, the LCD screen with LED lights, and a proper cooler which allows for greater than factory speeds without overclocking. There are reports the stock cooler and other resellers offer woefully underrated coolers which lead to overheating when you try to juice more than a terahash out of these units.
At first, I was a little worried, thinking I was part of a shared pool though a quick email was replied the next day assuring me I was solo mining and that the USB port could only be used for flashing. I did have to update the device when I got it, as it was one firmware version behind. I am now running the latest beta firmware, and will plan to check on the updates every few weeks or so. Updating was very easy, I went to the bitaxe github, downloaded the latest firmware and software, and updated both via the web interface.
You can update the Bitaxe via USB as well, though that is slightly more complicated and requires a series of command line interface inputs just to install a simple firmware. The web interface is much easier, and quicker way with a much lower barrier of technical knowhow. I am only somewhat versed in CLI operations so the web interface worked well enough. Maybe next time there is an update I will try it again, though typing out the entire command leaves room for error and you need to specify exactly which firmware version you are installing with CLI, further leading to potential issues with installation if you are not exactly sure.
I also found there is a web flash interface via USB, which I found equally as confusing as it seems to want to connect via serial port. I found at the end of the day, downloading from github and using the built in firmware update tool on the IP address of the miner itself was the easiest way.
Down to the bottom line of would I recommend this miner. I believe the Bitaxe offers excellent power for the price. Bitcoin Merch claims it is “2025’s Most Successful BTC Block Hitter” and I believe for the price, it absolutely could be. If you are going to hit a block with a low power miner, your chances probably are not that much greater with one that spits out 4/Th. Unless you are mining in a pool, this might be the cheapest chance of hitting a block on the market. Some spend 10’s of thousands on ASIC miners just to be in the same position as me, still awaiting a block.
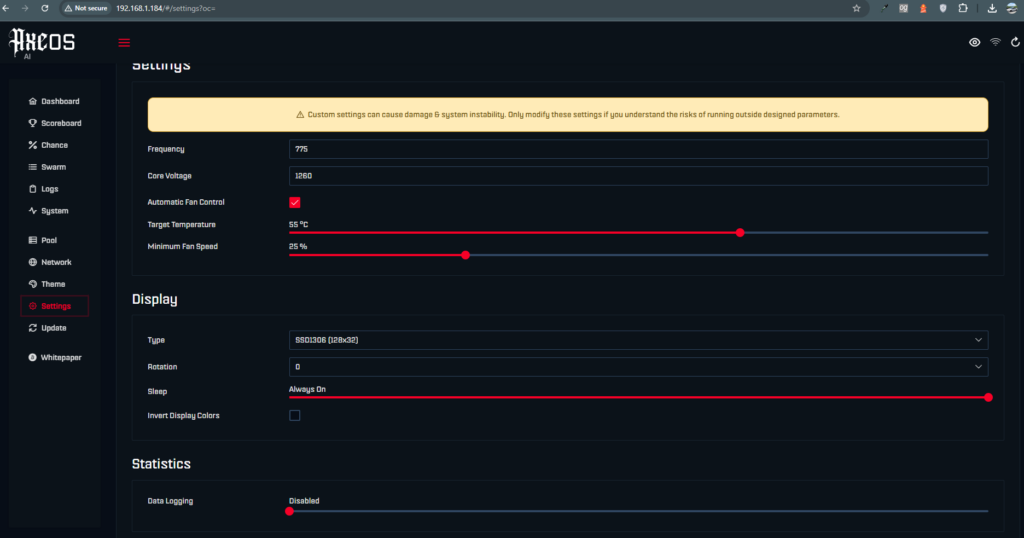
I looked further into overclocking and found that adding ?oc= to the end of the settings page allowed me to type in anything I wanted. I was told by the team at Bitcoin Merch 900Mhz would fry the board, so I settled at 775mhz for now which generates me a 1.5-1.6T/h mining speed, nearly 50% greater than stock. The target temperature stayed the same and the fan just ramped up a little. I am tempted to try 800mhz, which I believe could run as well but I might need to be careful with voltages. 1.25V to the ASIC seems to be very stable at 750MHZ and I have no worries about the temperature, the fan is only running 10% faster, though I would also need to worry about chips on the back if I overclock it any more so I have read.

I did confirm with the Bitcoin Merch team there was headroom for 800MHZ of overclocking, though they recommended a rear fan. The guides I read successfully got speeds of 1GHZ though it seems the miner chokes itself at higher heat levels and they were not able to get any greater performance so it hardly seems worth gambling the lifespan of the miner for extra speed without netting higher performance.
For now, I am happy having this little miner whirring away and hope it indeed nets something for me. Though realistically speaking the chances of mining a block are probably about 300 times better than hitting the powerball so I have my work cut out for me.